

In today’s digital age, email is more than just a communication tool, it’s the backbone of our online presence. From banking to social media, most accounts are tied to an email address, making Gmail one of the most important services to keep secure.
But what happens if you forget your password or someone attempts to break into your account?
This is where a recovery email comes in. Google allows users to set up a secondary email that acts as a safety key to help restore access in case of lockouts or suspicious activities.
If you haven’t set one up yet, here’s a comprehensive guide on why it matters and how you can do it in just a few minutes.
Why Setting a Recovery Email Matters
Think of a recovery email as your digital safety net. Without it, regaining access to your Gmail can be much harder. With it, you get:
Password Reset Access: If you forget your Gmail password, Google can send reset instructions to your recovery email.
Identity Verification: If Google detects unusual activity, like a login attempt from an unknown device, you can confirm whether it was you.
Account Protection: Recovery emails act as an extra layer of defense against hackers, ensuring only you can regain access.
Without one, you may be forced to go through lengthy verification steps (like answering security questions, providing old passwords, or waiting days for account review), and sometimes, recovery may not even be successful.
Step-by-Step: How to Add a Recovery Email in Gmail
Google makes the process straightforward, but since it’s tied to account security, each step is crucial.
Step 1: Sign in to Your Google Account
Open your preferred web browser and type ‘myaccount.google.com’. Log in with your Gmail username and password.
It is noteworthy to always make sure you’re logging in on the official Google site, not through links in suspicious emails or pop-ups.
Step 2: Go to the Security Section
Once inside your account, you’ll see a menu on the left-hand side (desktop) or tabs at the top (mobile). Click or tap on Security to open your security settings.
This section contains all of Google’s tools to help you safeguard your account, from two-step verification to recent activity logs.
Step 3: Find the “Recovery Email” Option
Scroll down until you see the section titled Ways we can verify it’s you. Under this, you’ll find Recovery email. Click on it.
This is where Google keeps your backup contact methods, which can also include recovery phone numbers.
Step 4: Verify Your Identity
Google may ask you to re-enter your password or approve the login on your mobile device. This extra step ensures only the real account owner can add or change recovery information.
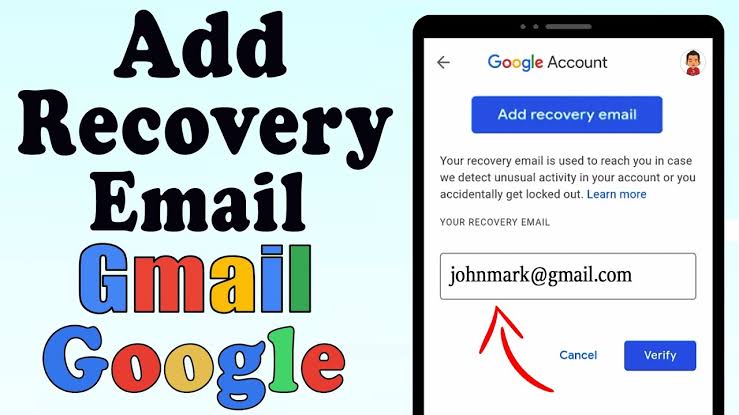
Step 5: Add Your Recovery Email Address
Enter the email address you want to use as your recovery option. This could be another Gmail account, a Yahoo address, or any secure email service you use regularly.
Step 6: Verify the Recovery Email
Google will send a verification code to the email you just entered. Open that email account, find the code, and type it back into the Google verification screen.
Until you complete this step, your recovery email won’t be active.
Step 7: Confirm and Save
After entering the code, Google will confirm the setup. Your recovery email is now linked to your Gmail account and ready for use.
From now on, anytime you need to recover your account, reset your password, or confirm suspicious activity, Google will use this email.
Best Practices for Choosing a Recovery Email
Adding any email as recovery isn’t enough, you need to make sure it’s reliable and secure. Here are some best practices:
Use a personal email you’ll always control: Avoid using work or school emails since you may lose access if you change jobs or graduate.
Enable two-step verification: Make sure the recovery email account also has two-factor authentication (2FA) enabled for extra protection.
Check it regularly: Don’t use an old email you barely open. Make it one you check frequently.
Avoid linking to accounts with weak security: If the recovery account is easily compromised, it defeats the purpose.
What Happens After Setting Up a Recovery Email?
Once active, your recovery email can be used for:
Password resets: If you forget your Gmail password, Google will send reset instructions to the recovery email.
Suspicious activity alerts: You’ll get notified when someone tries to log in from a new device or location.
Verification challenges: If Google doubts your identity during login, it may send a code to the recovery email.
This makes it one of the most important yet often overlooked security steps for Gmail users.
Adding a recovery email is one of the simplest yet most powerful ways to protect your Gmail account. In less than five minutes, you create a digital backup plan that could save you from the nightmare of losing access to your online life.
With cyber threats on the rise, every Gmail user, whether for work, school, or personal use, should take this step seriously. If you haven’t set up your recovery email yet, there’s no better time than now.
FAQs on How to Set Up a Recovery Email in Gmail
Why do I need a recovery email for Gmail?
A recovery email acts as a backup in case you forget your Gmail password, get locked out of your account, or Google detects suspicious activity. It allows Google to send you verification codes, alerts, and password reset links. Without it, recovering your account can be more difficult and time-consuming.
Can I use any email address as my recovery email?
Yes. You can use any valid and active email address, whether it’s another Gmail account, Yahoo, Outlook, or a personal domain email. The most important thing is that it should be secure, regularly used, and accessible only by you. Avoid using temporary or work emails that you may lose access to in the future.
Can I change or remove my recovery email later?
Yes. You can update or delete your recovery email anytime from your Google Account settings. Simply return to the Recovery email section, and you’ll have the option to edit or remove it. If you get a new primary email, it’s wise to update your recovery email immediately.
What should I do if I can’t access my recovery email anymore?
If you lose access to your recovery email, log in to your Google Account and update it with a new, active email address as soon as possible. If you ever get locked out of Gmail and can’t use your recovery email, Google may still try other recovery methods, such as sending a code to your linked phone number or asking for old passwords.