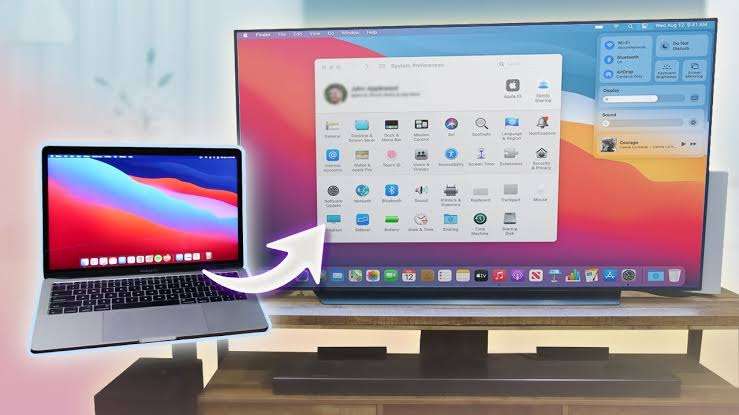
Whether you’re giving a presentation, streaming movies, or mirroring your screen for a bigger view, connecting your Mac computer to a TV is simpler than ever.
Apple has made significant improvements in macOS and hardware compatibility, allowing you to connect via HDMI, AirPlay, or USB-C, depending on your Mac and television model.
This comprehensive guide by Techparley walks you through everything you need to know about how to connect your Mac computer to a TV, including both wired and wireless options, common troubleshooting tips, and the best settings for optimal display.
Wired vs Wireless: Which Connection Type Is Right for You?
Before you begin, it’s important to decide whether you want a wired connection (HDMI or USB-C) or a wireless setup (AirPlay). Each method has its pros and cons:
- Wired: Offers the most reliable connection with low latency, ideal for gaming, presentations, or when your Wi-Fi is unstable.
- Wireless: Great for casual streaming, quick mirroring, and decluttering cables, but it depends heavily on your network strength and TV compatibility.
Method 1: Connect Your Mac to a TV Using HDMI
What You’ll Need:
- An HDMI cable
- A Mac with an HDMI port or a USB-C to HDMI adapter
- A TV with an available HDMI input
Step-by-Step:
- Plug the HDMI cable into your TV’s HDMI port.
- Connect the other end to your Mac (directly or via an adapter if your Mac only has USB-C/Thunderbolt ports).
- Turn on your TV and switch to the correct HDMI input.
- Your Mac should automatically detect the TV. If not, go to: System Settings > Displays, then click ‘Detect Displays’
- You can choose to mirror your Mac screen or use the TV as a second display under the Displays menu.
Bonus Tip: For the best video and audio quality, ensure your HDMI cable supports 4K resolution and audio passthrough if you’re streaming high-definition content.
Method 2: Connect Your Mac to a TV Using AirPlay (Wireless)
AirPlay is Apple’s wireless streaming technology that allows you to mirror or extend your Mac’s screen to an Apple TV or a smart TV that supports AirPlay 2.
What You’ll Need:
- A Mac running macOS Mojave (10.14.5) or later
- A TV with AirPlay 2 support or an Apple TV device
- Both your Mac and TV must be on the same Wi-Fi network
Step-by-Step:
- On your Mac, click the Control Centre icon in the menu bar.
- Select Screen Mirroring.
- Choose your TV or Apple TV from the list of available devices.
- Your Mac screen will now appear on the TV.
- To stop mirroring, return to Control Centre and click ‘Screen Mirroring’ > Stop Mirroring.
Adjust Display Settings:
Go to System Settings > Displays to adjust resolution, screen scaling, and display arrangement if you’re extending your screen.
Method 3: Use a USB-C to HDMI or DisplayPort Adapter
Newer MacBooks (MacBook Pro, MacBook Air) often lack a native HDMI port, but you can still connect using a USB-C hub or adapter that supports video output.
What You’ll Need:
- A USB-C to HDMI adapter, or a USB-C hub with HDMI port
- A compatible HDMI cable
- A TV with HDMI input
How to Connect:
- Plug the USB-C adapter into your Mac.
- Connect the HDMI cable from the adapter to your TV.
- Follow the same steps as in Method 1 to configure your display.
Look for adapters that support 4K at 60Hz for the best performance, especially if you’re using a MacBook with Retina Display.
Optimising the Display and Sound Settings
After connecting your Mac to your TV, you might want to tweak a few settings for the best experience.
For Video:
- Navigate to System Settings > Displays
- Choose whether to mirror or extend your screen
- Set your preferred resolution and refresh rate
- Use the Night Shift or True Tone options for more natural colours
For Audio:
- Go to System Settings > Sound > Output
- Select your TV or HDMI output to send audio through the TV’s speakers
- Adjust volume settings from either your Mac or your TV remote
Troubleshooting Common Issues
- No Signal on TV? Double-check that the TV input matches the HDMI port used.
- TV not showing up? Click ‘Detect Displays’ in the Displays menu.
- Poor video quality? Use a higher-quality HDMI cable and confirm that your adapter supports the resolution you want.
- Audio still playing on Mac? Change output under Sound Settings to route audio through HDMI or AirPlay.
FAQs about Connecting Mac Computer to a TV
Can I connect my Mac computer to a TV?
Yes, you can connect your Mac computer to a TV, as long as the TV supports HDMI or AirPlay 2. You may need an adapter for newer Mac models.
Why is there no sound on my TV?
Go to System Settings > Sound > Output and ensure your TV or HDMI output is selected.
Can I use Bluetooth to connect my Mac to the TV?
No, Bluetooth doesn’t support video output. Use AirPlay or a cable.
Does screen mirroring reduce quality?
AirPlay can slightly reduce resolution depending on network strength. HDMI generally delivers better fidelity.
Is there any lag when using AirPlay?
There might be a minor delay with wireless mirroring. For real-time use (e.g. gaming), a wired connection is better.


